|
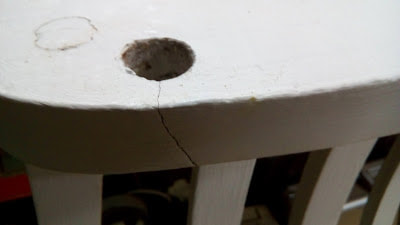
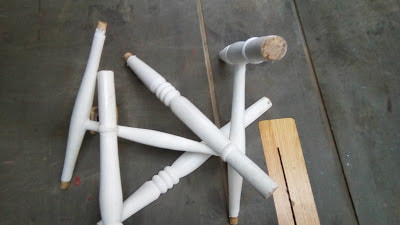
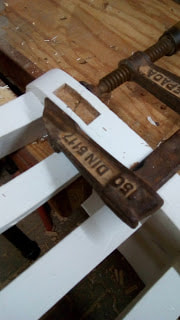
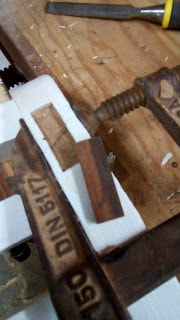
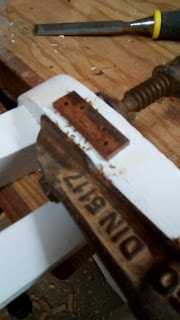
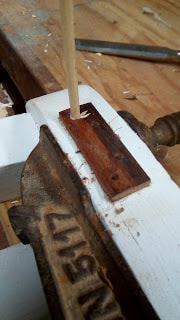
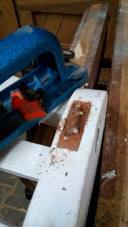
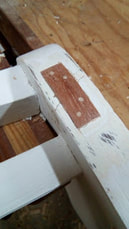
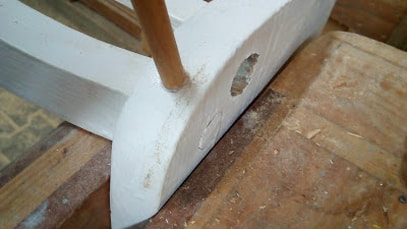
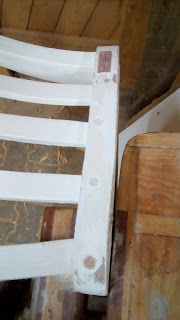
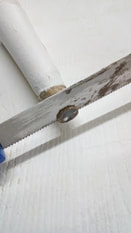
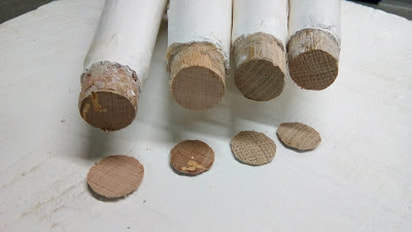
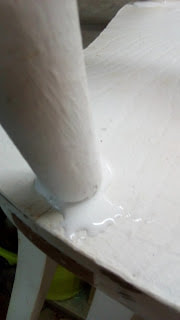
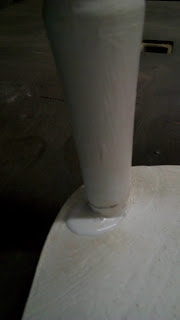
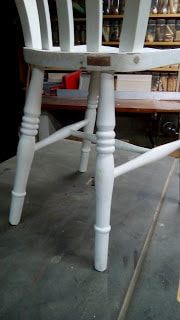
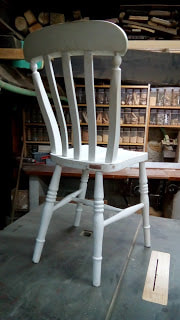
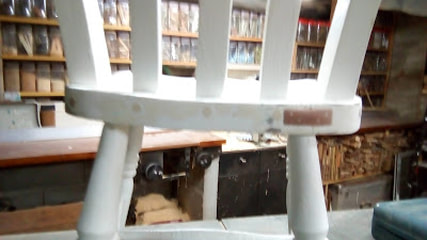
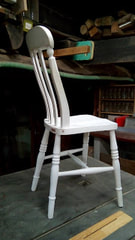
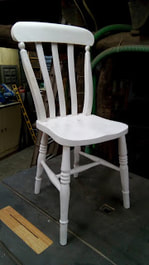
Just a wobbly old chair, well maybe not just. There was a crack that went thru to one of the back legs with all consequences of... falling apart. It was just a matter of a little brace, some dowels and some glue... Here's the process of repairing an antique chair without making it look like a new one. The crack in the seat at one of the rear legs. Taking all apart without damaging the parts. Chiseling out the place for the bracket (mahogany) gluing in, drilling holes and some reinforcement with dowels. Planing the bracket but leaving it just a millimeter proud of the surface, a repair to an antique chair should look like it's been done sometime ago. The back was lose to, 2 10 mm beech dowels were hammered in all the way thru the tenons of the back. The three insite thinner parts of the back got the same treatment, only with 8 mm dowels. The legs were cut 1 mm shorter, so the fitting became tighter. It's great to find that a little Japanese pull saw is capable to cut slices of 1 mm. You can't use to much glue if there's room for it to squeeze out of the joint. The oak legs were put back into the cherry wood seat. It's up to the owner of the chair whether to leave the repair visible or not.
1 Comment
|
Follow us on
Instagram! Categories
All
Looking Back
November 2017
|

 RSS Feed
